Saturday, April 7, 2012

Day 6

We started the wiring harness today. It's really well made and easy to work with, even if it looks like a mess right now. The fuse box has been installed and the front harness is almost there:
Here is the front part of the electrical harness, with the the block off plate temporarily installed:
All set for headlights, turn signal and horns...once the body is on:
Looks like Cthulhu exploded all over the dash area:
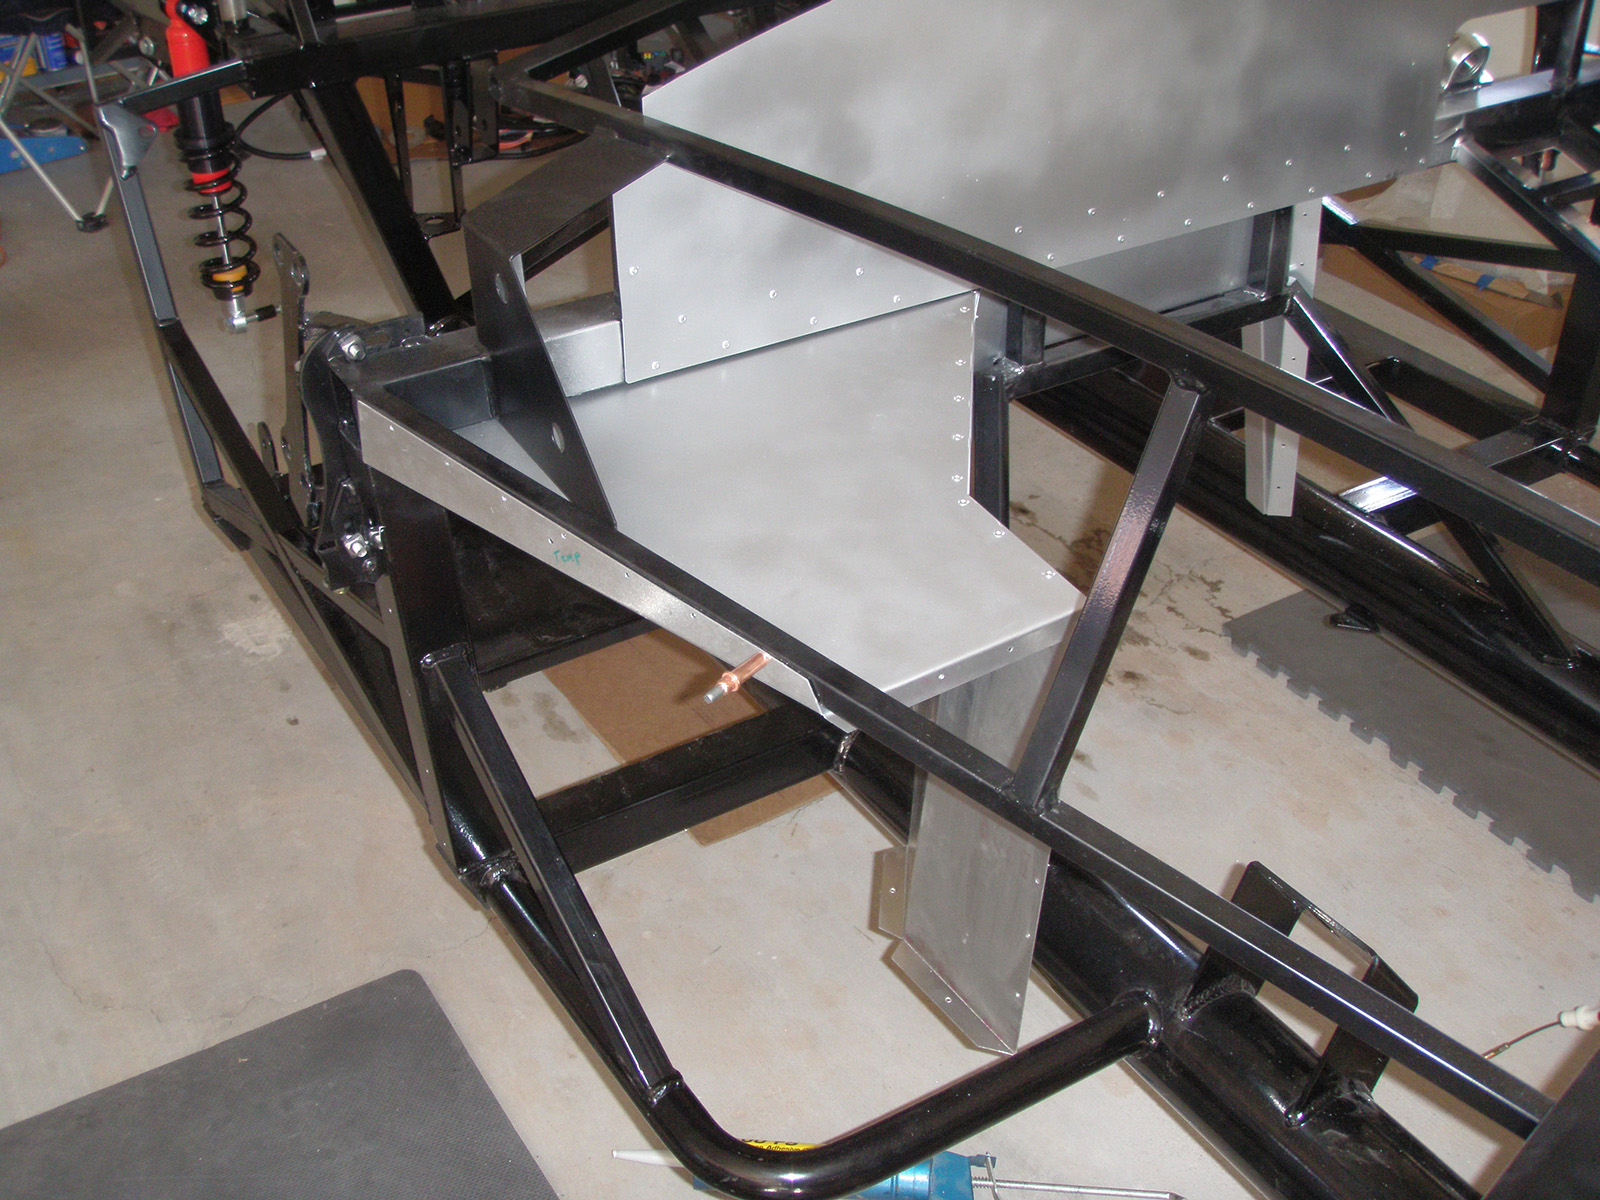
While Dad worked on the rest of the electrical, I temporally fitted the battery box, which was an aftermarket item and did not come with the kit:
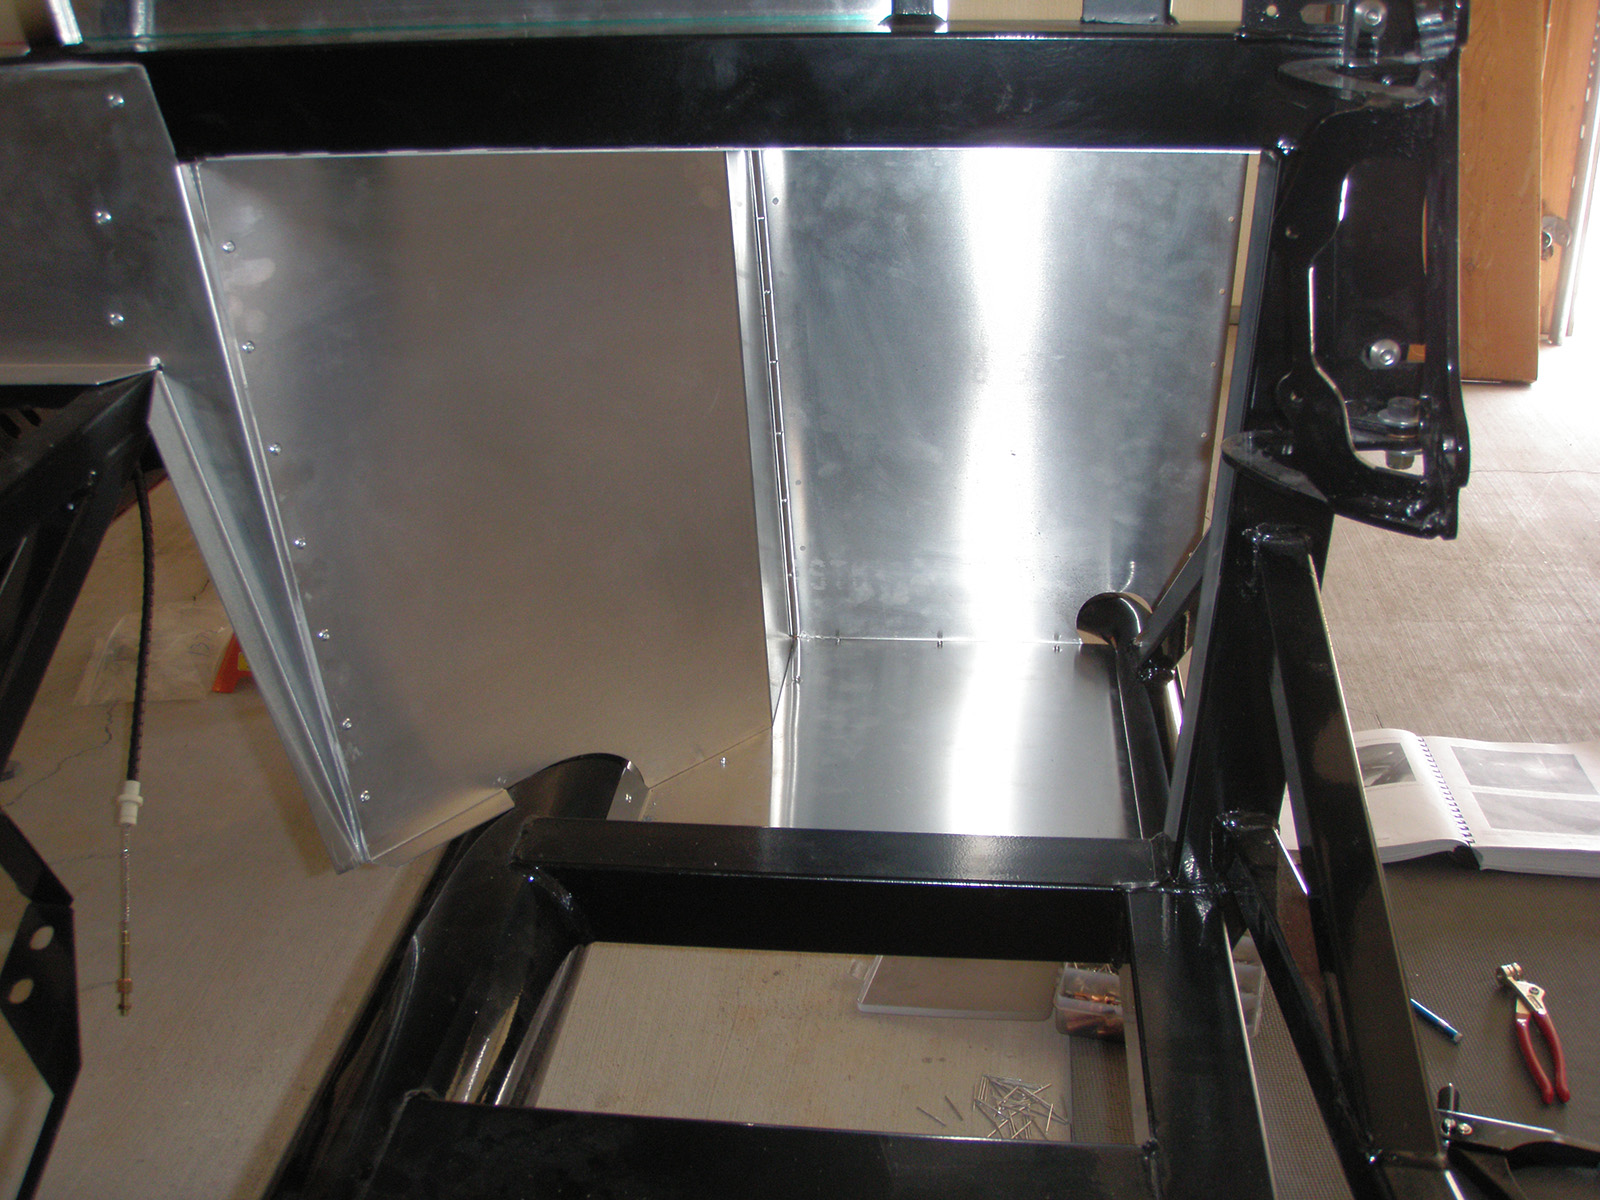
Another shot of the driver's side and though you can't see it, the rear harness is in as well:
The coil and various other sending unit wires are ready:
And with that we called it a day. At this pace, we should have the electrical done this weekend. See ya next time!

Friday, April 6, 2012

Passenger foot box assembled

I sealed and riveted the passenger side foot box aluminum today. We have aligned, drilled and painted the pieces last week, as you may have noticed in previous posts. Starting with the top piece, attached to the frame and inner wall:
Then attached to the "A" piece, which is also riveted to the frame:
Then the front and floor:
And then attach the top half to the outside piece:
Then glued and riveted to the rest:
I sealed the inside and touched up the paint a bit.
Since the video is too large, I'll be hosting it off youtube. Anyway, here is a time lapse of the process:
http://www.youtube.com/watch?v=n4XQy4HHzuI&feature=youtu.be

Thursday, April 5, 2012

Day 5

Here is most of the pedal assembly:
I then did a trial fit of the pedals, drilled the holes and fixed it to the chassis. After that, installed the master cylinders for the brakes. Then we mounted the brake fluid reservoir to the driver-side footbox and fed the line to the cylinders:
And from another angle:
We also adjusted the gas pedal so it will clear the footbox aluminum by removing the spring and bending the arm in a vice. It's obvious at this stage that most of the materials need a little work to fit, even if for minor differences in chassis and paint.
After this shot was taken, I secured the brake line top the top of the pedal assembly:
Dad started sorting out the electrical for the front end, so we did a test fit for the fuse box and called it another day. Still waiting on the lower part of the steering shaft, but plenty of other things to take care of until then, no worries.

Wednesday, April 4, 2012

Something to kick around

The pedals and master cylinders arrived today, so Dad and I installed them:
Closeup shot of the box:
I'll attach the foot pedal plates tomorrow. Here is a shot from *roughly* the driver's seat:
The big cable on the top is for the clutch and the small one is for the throttle:
We also installed the upper steering shaft bearing, which is on the top left of the picture above.
Video and more tomorrow. Fin.

Tuesday, April 3, 2012

Day 4

Today I completed the front suspension. Here is the spindle attached to the bottom control arm with the top arm temporarily zipped up so as not to get in the way:
Both arms with the hub attached. Big thanks to European Auto Tech for lending me the 36mm socket to screw the hub nut on:
All torqued down and ready for the steering rack:
Which dropped in easily, but the threads on the tie rod ends were rough and we fought it for a few hours trying to get the alignment as close as possible:
Attached the rotor and calipers to both sides, as well as the brake lines leading to the engine compartment:
Passenger side complete as well:
Driver side done:
Other than torquing a few bolts on the steering rack, the front suspension is done! The pedals and master cylinders will be here tomorrow. Expect another video of that assembly. Till then...

Monday, April 2, 2012

Front control arms are here

The front lower control arms arrived today, so I assembled the passenger side front suspension (no audio):
I'll get to the driver side tomorrow. Pics to follow.
I also assembled the gas tank level, vent and output tube which was real easy. As with most of the sub-assembly at this point, it's ready to drop in once the other steps are completed.